
Getting the Most Out of Your Adelco Tunnel Ovens
If you’ve spent any time managing a long tunnel furnace, you know the struggle. Trying to keep the temperature consistent from one end to the other is a total nightmare for most plant engineers. When we set up infrared for Adelco tunnels, we aren’t just throwing heat at the problem. We’re looking for stability across a massive space.
Power and Heat Density
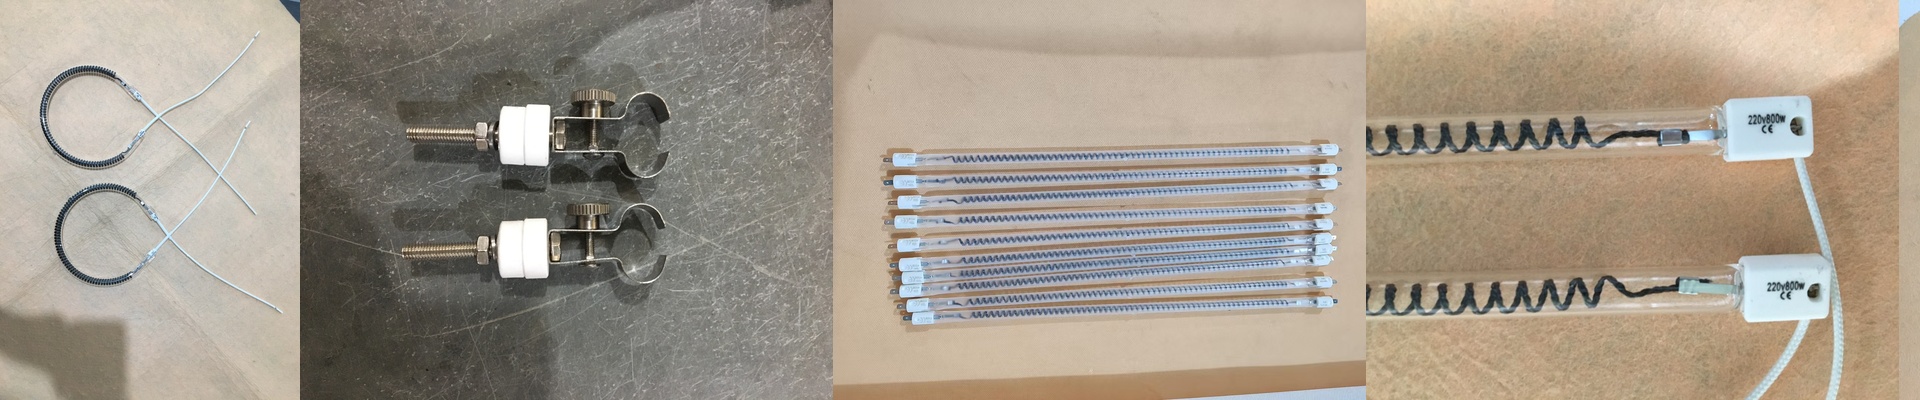
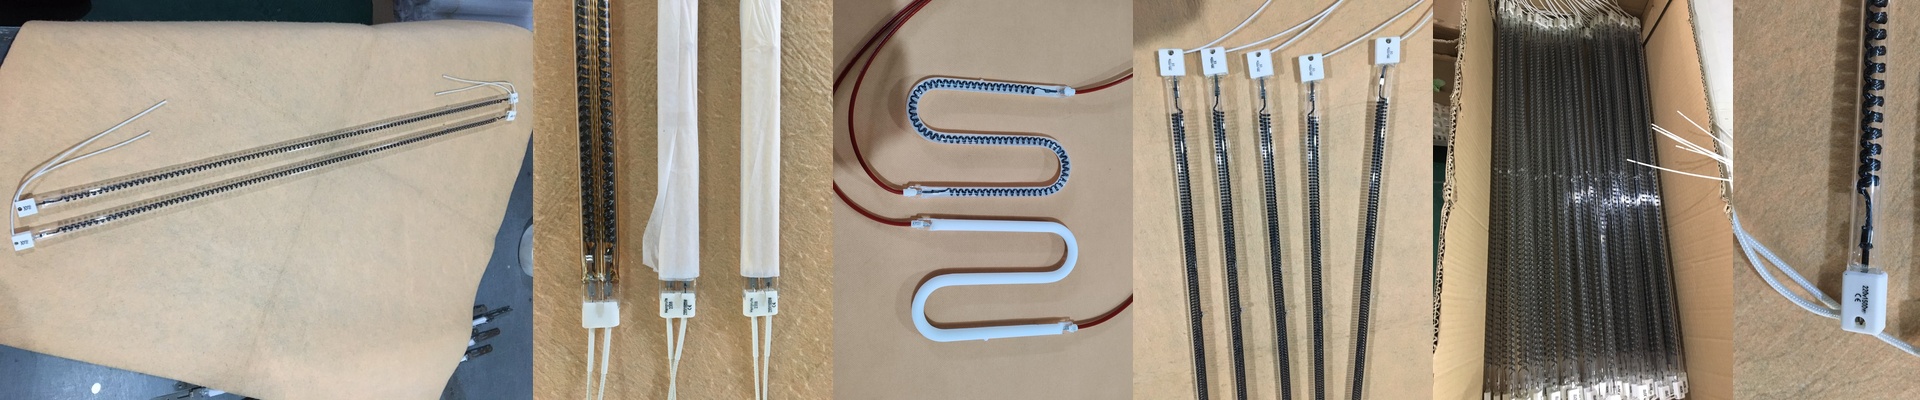
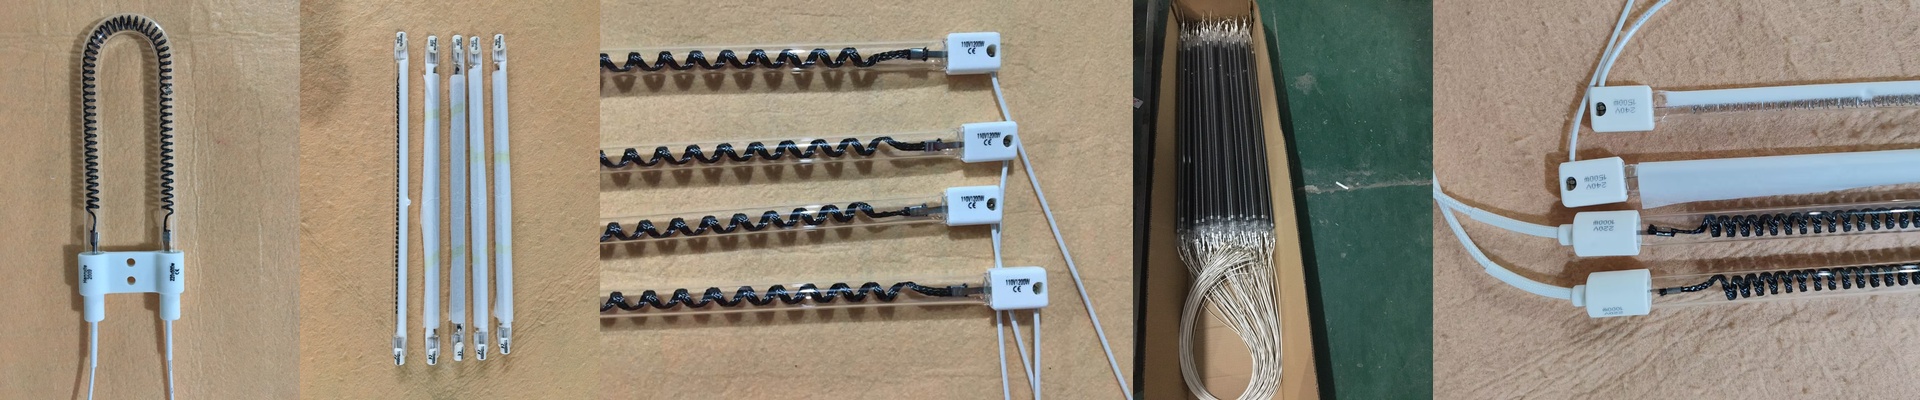
To get these ovens up to temp, we rely on high-wattage halogen quartz lamps. Instead of waiting for air to slowly warm up your parts, these lamps shoot short-wave infrared radiation straight into the product. It’s fast. Really fast. That’s important because the second a cold part hits the zone, you need the heat to bounce back immediately. But here is the catch: high-wattage tubes are power-hungry. If your transformers or wiring are weak, you’ll see voltage drops. It’s worth double-checking your power rails before you flip the switch, or you’re just asking for trouble.
Why the Build Matters
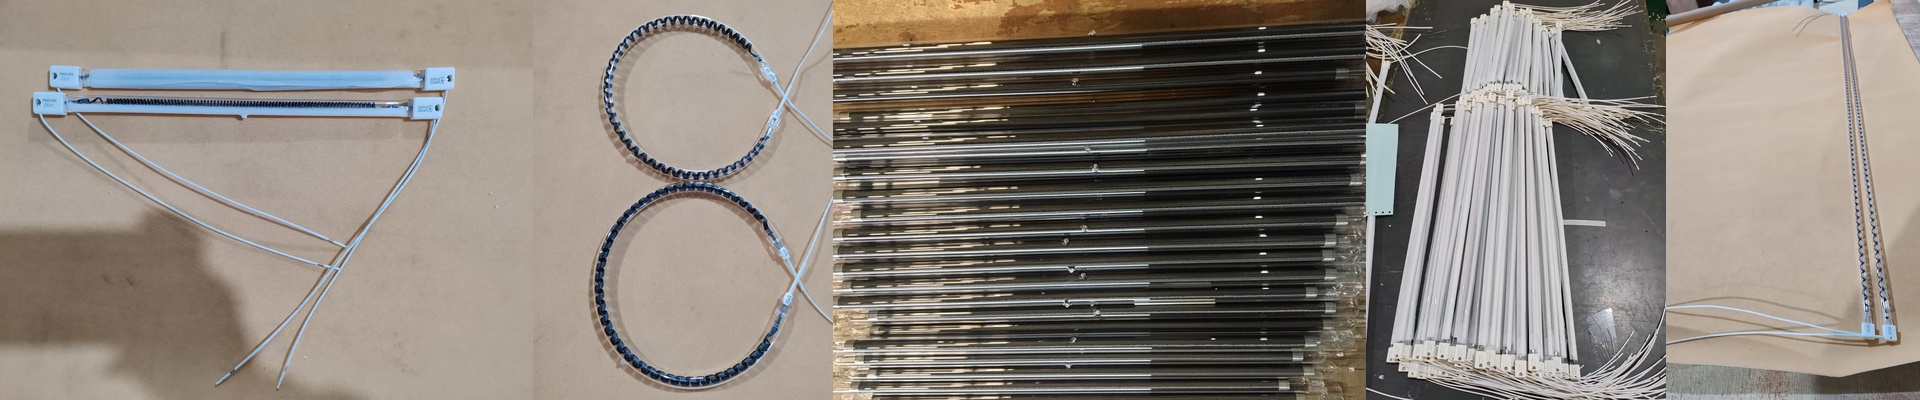
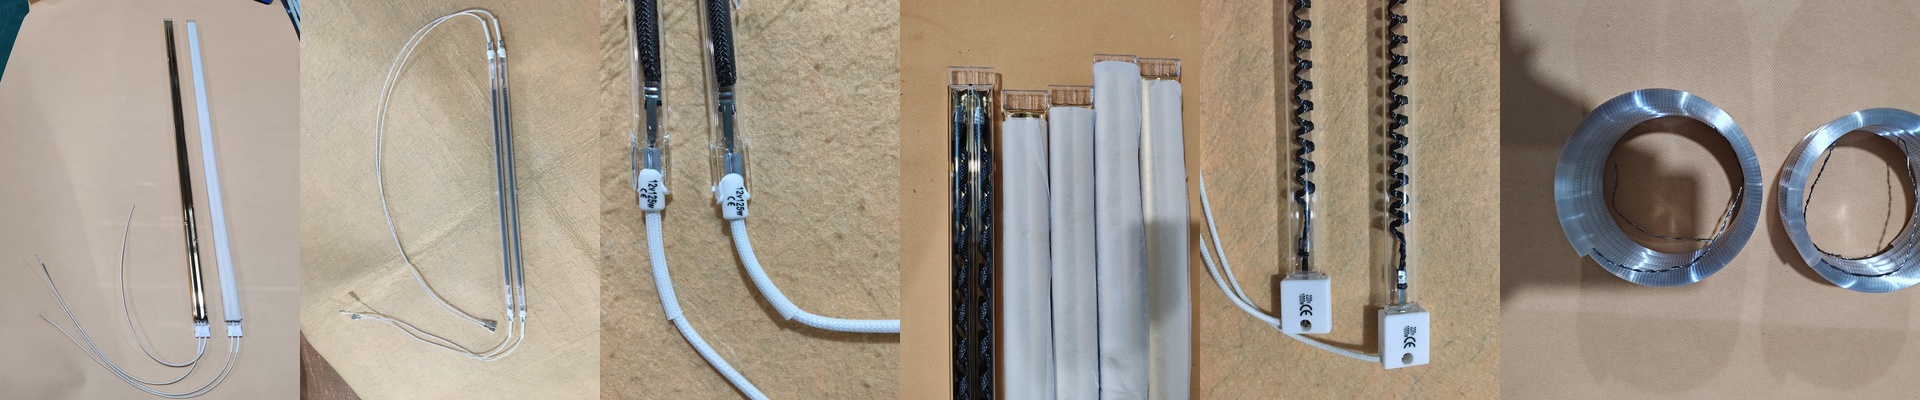
We use heavy-wall quartz glass for a simple reason: we don’t want the filament to sag. When it sags, you get hot spots, and then the lamp burns out way too early. Plus, the halogen cycle keeps the inside of the glass clean, so the heat keeps flowing. One thing we’re obsessive about with Adelco setups is the connector fit. A loose end cap is a recipe for arcing, which will fry your sockets in no time. We use precision-fit connectors because a tight electrical bond is the only way to keep things running smoothly.
The Trade-offs
The best part? These lamps just drop right into your existing Adelco racks. You’ll notice your pre-heat times shrink and your drying line doesn’t need to be nearly as long. But keep in mind, short-wave IR is aggressive. If you’re working with thin or sensitive materials, the surface can scorch before the middle even gets warm. You’ll have to play around with your conveyor speed and zone temps to find that sweet spot where everything dries perfectly without burning.